75011 Paris, France
Photoshop classes in Paris
Find out how the pictures on this web site were prepared… Learn how to use Photoshop as a “digital darkroom” for making handmade enlargements of your photographs! Tips, hints and advice from a professional photographer working in Paris. Regardez cette page en français.
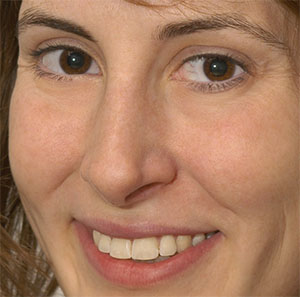
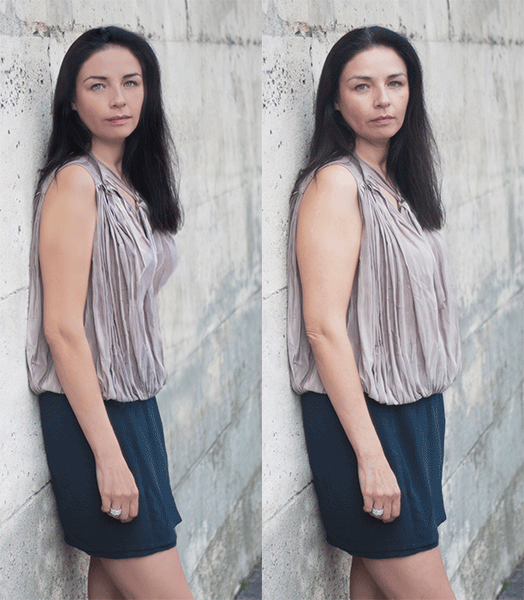
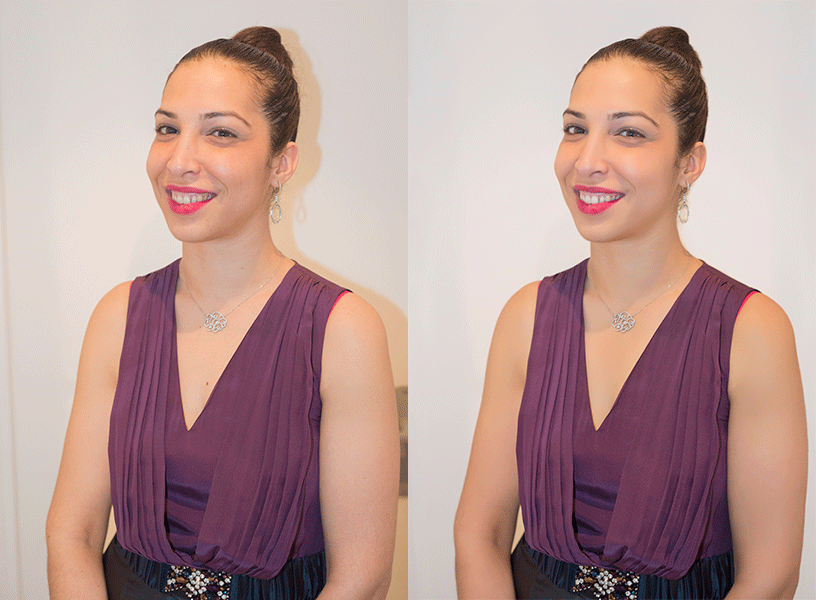
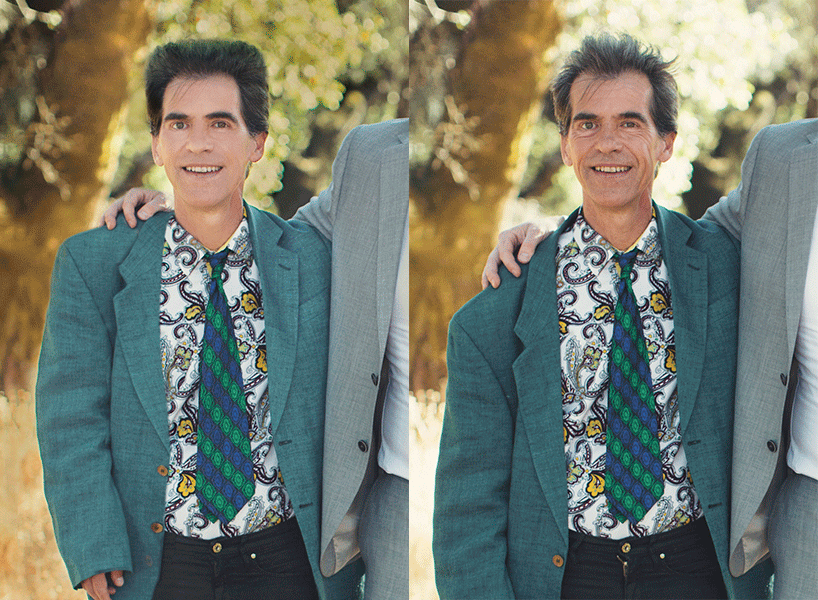
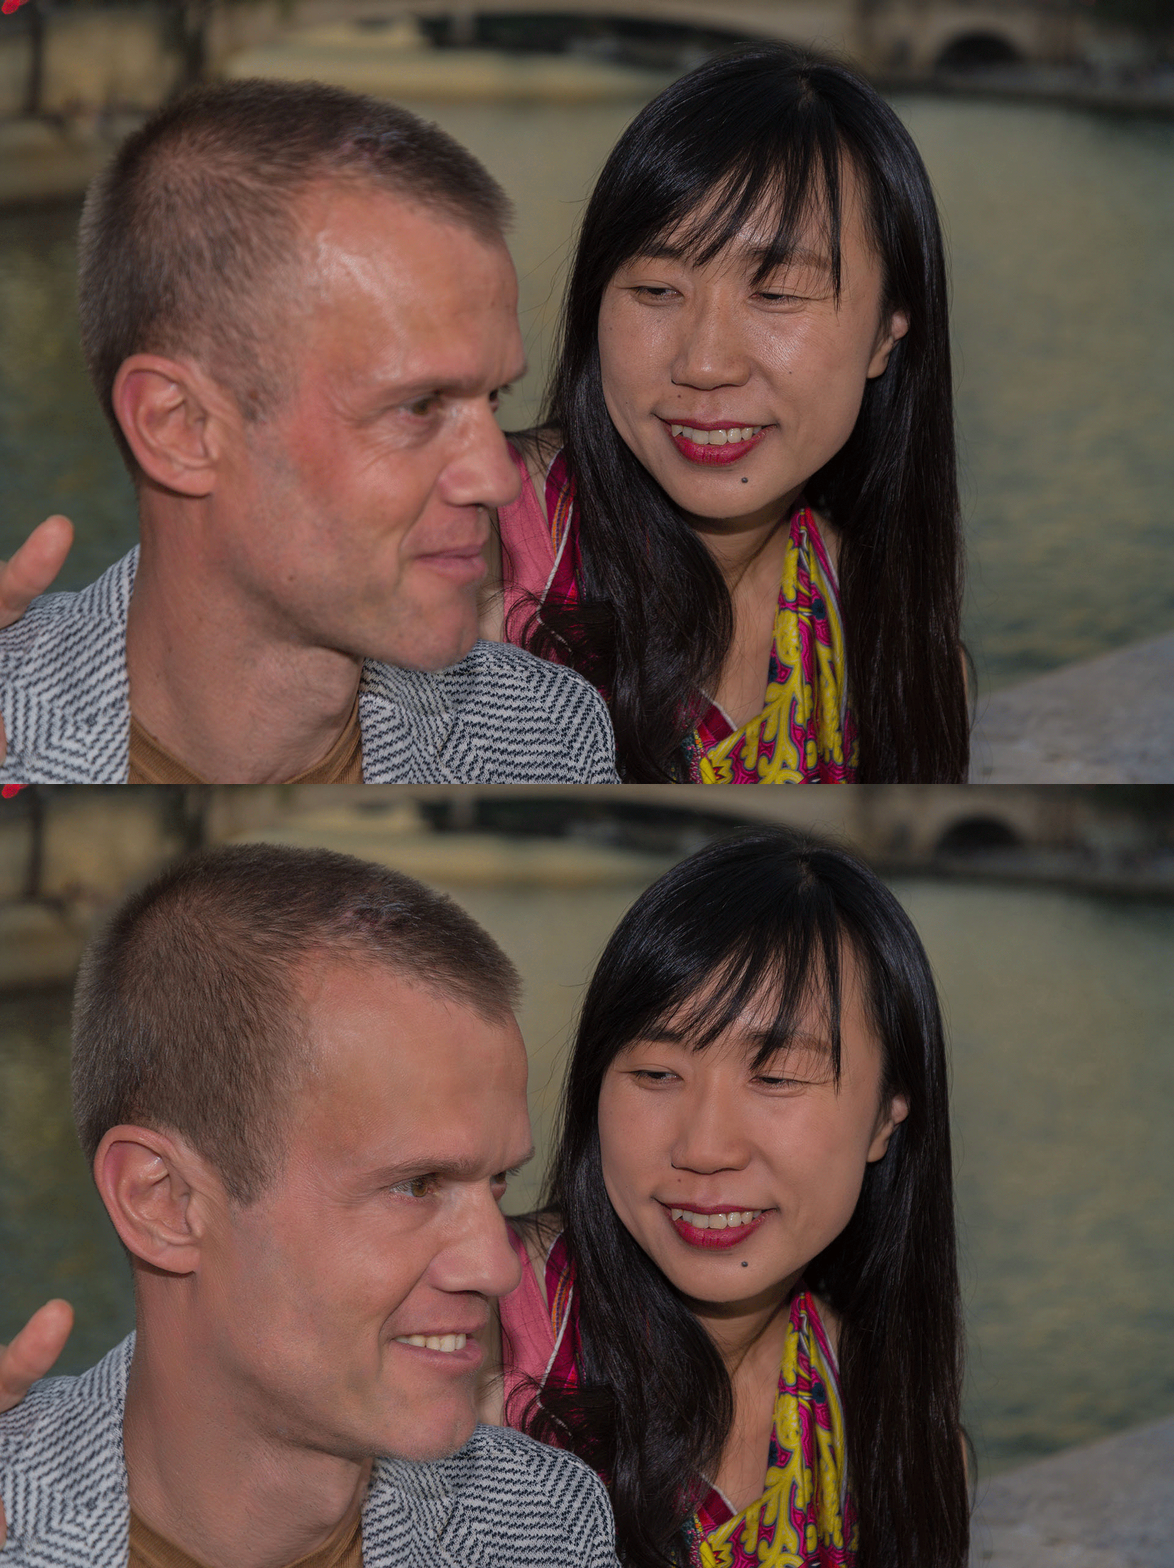
We’re all quite happy with the technical capabilities of cameras these days and their ability to capture the finest of details, though sometimes it’s best to do a bit of clean up work so as to end up with a truly flattering portrait.
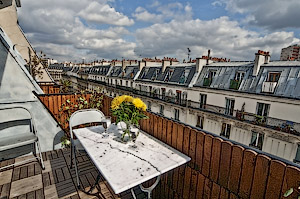
Brightness, color and contrast adjustments: To make the best of prints with detail everywhere, it’s best to take pictures a bit “flat”, without much contrast, with the exposure optimized for the highlights. Hover over this picture of a balcony terrace on rue Beaurepaire to see the picture as I took it.
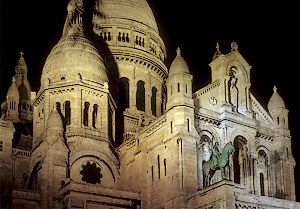
Perspective correction: hover over this picture of Sacré-Cœur to see the uncorrected version.
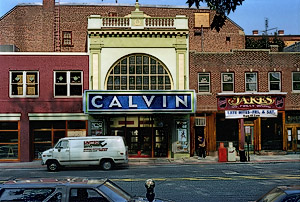
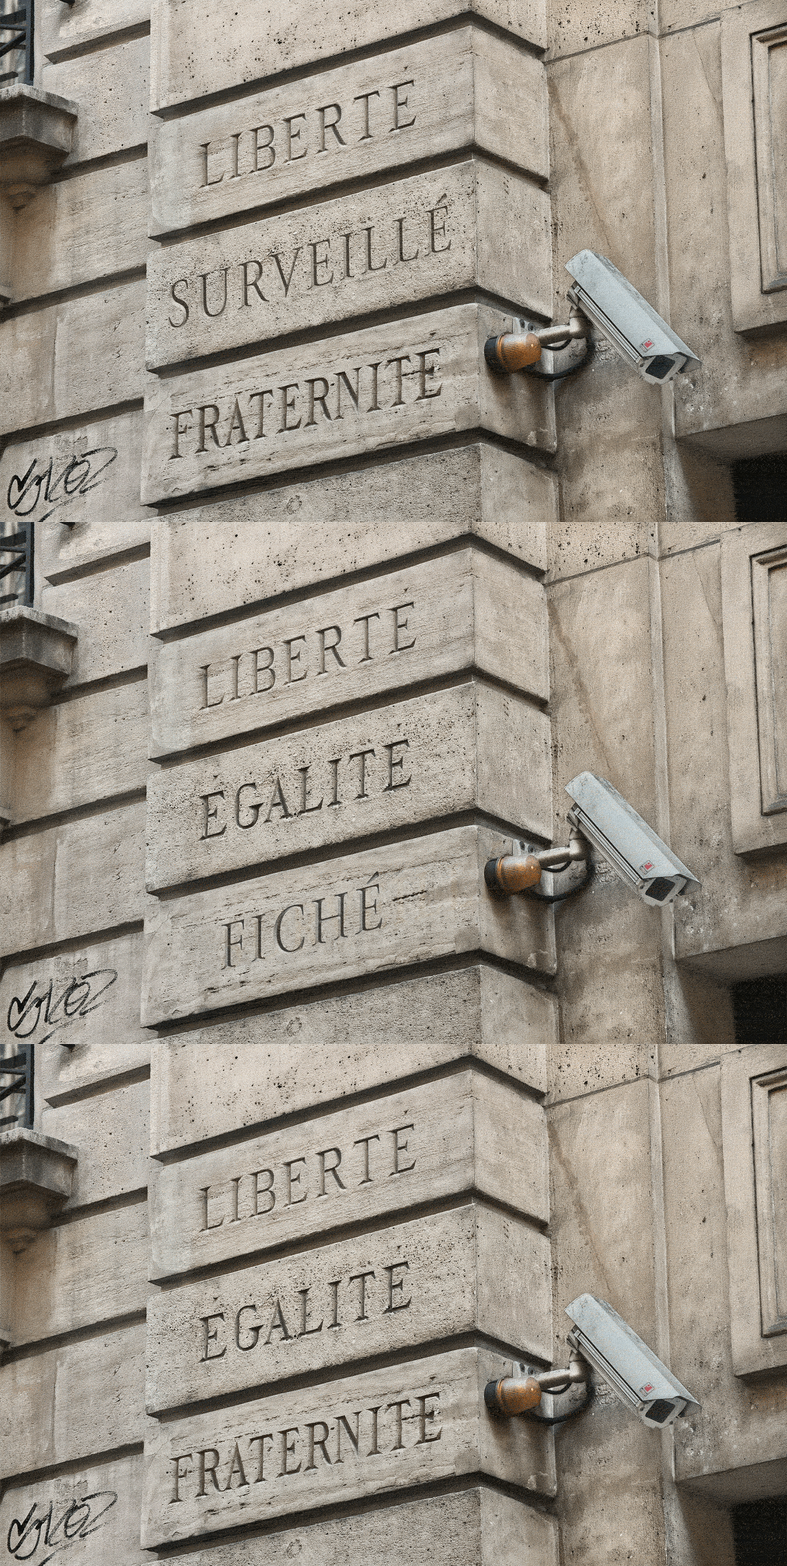
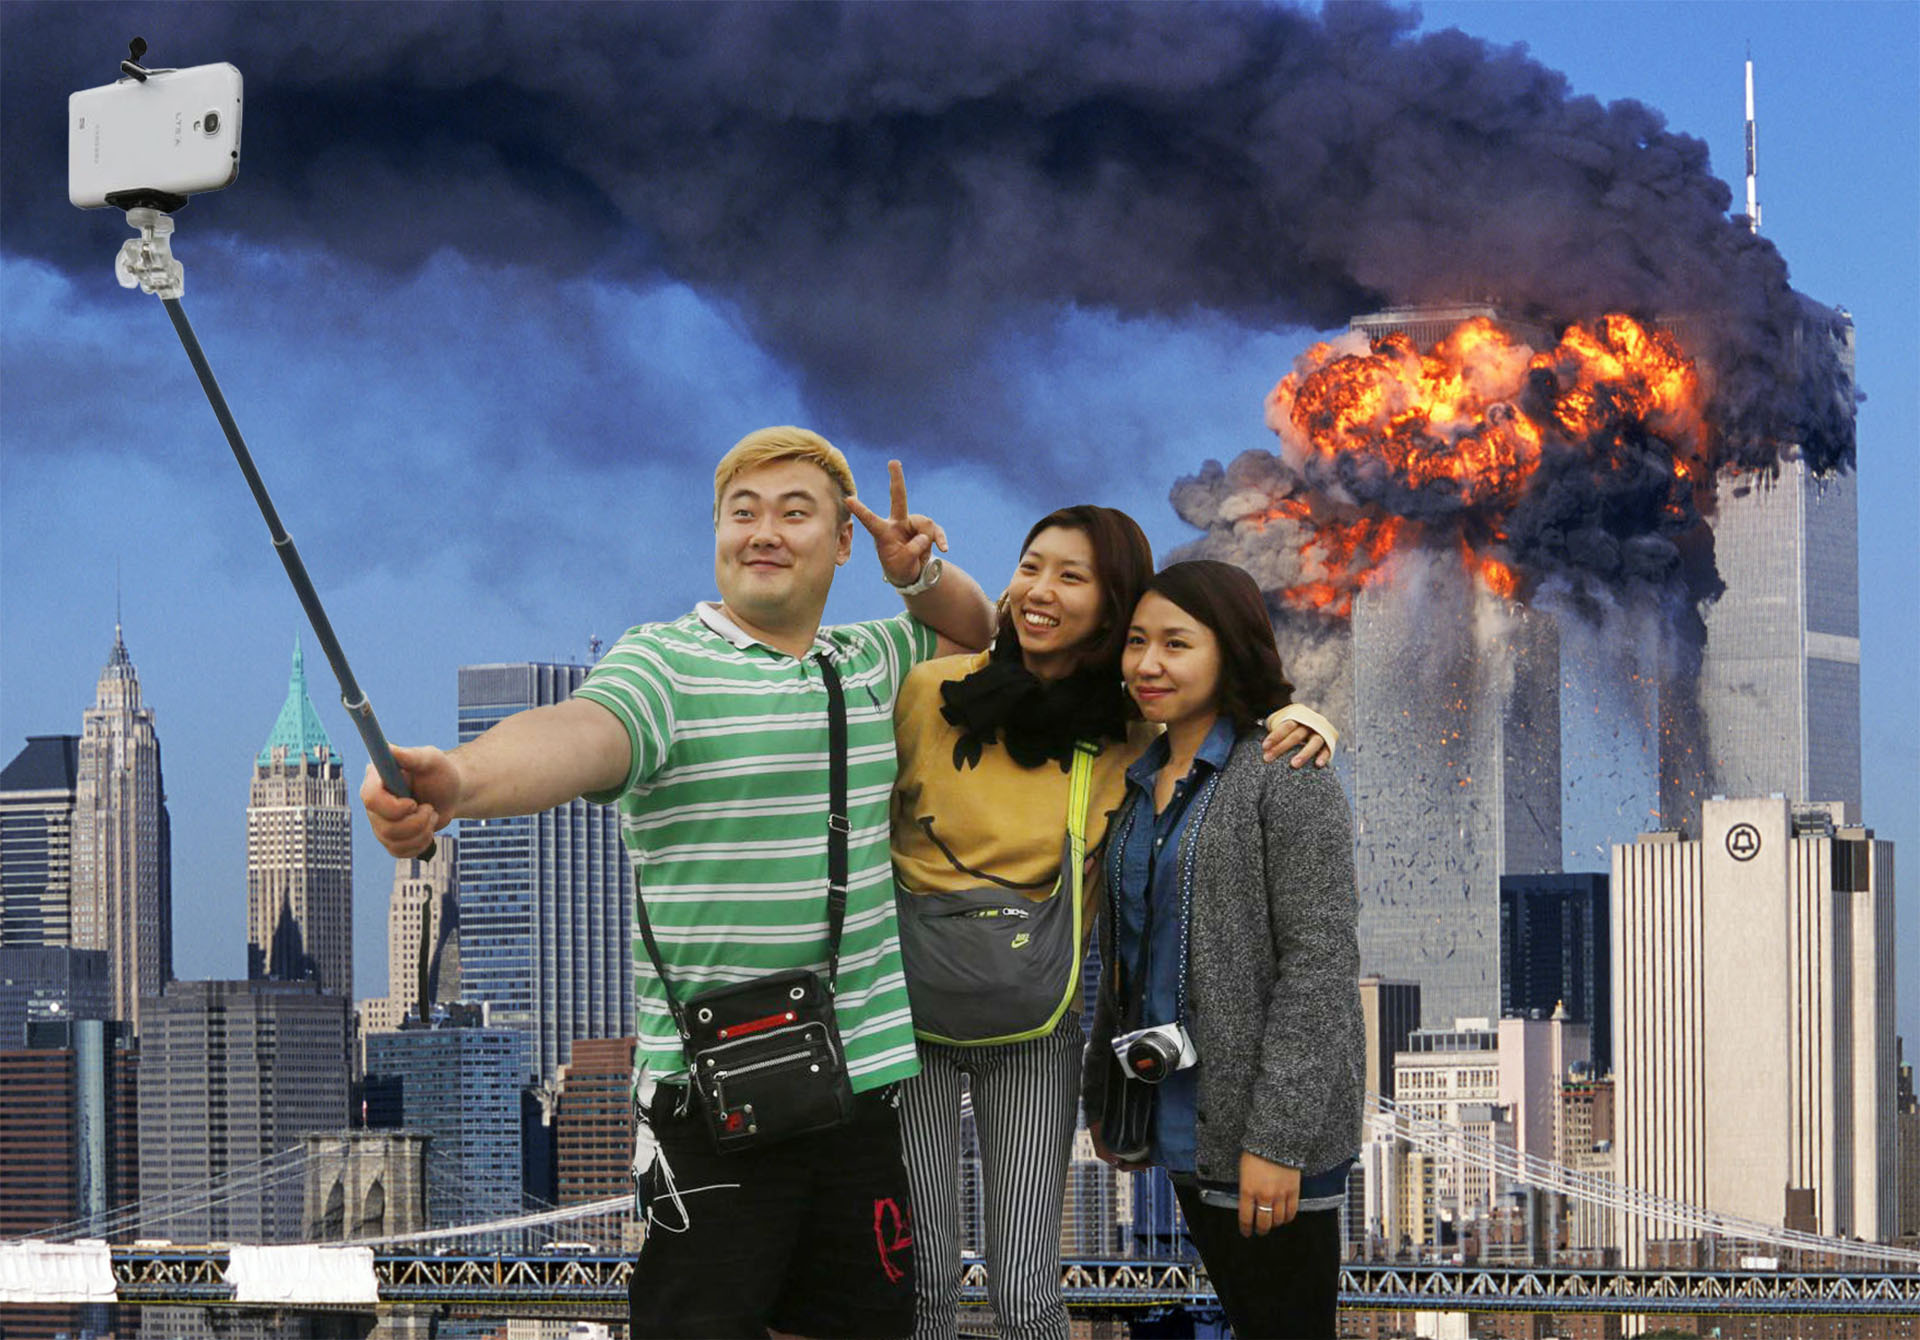
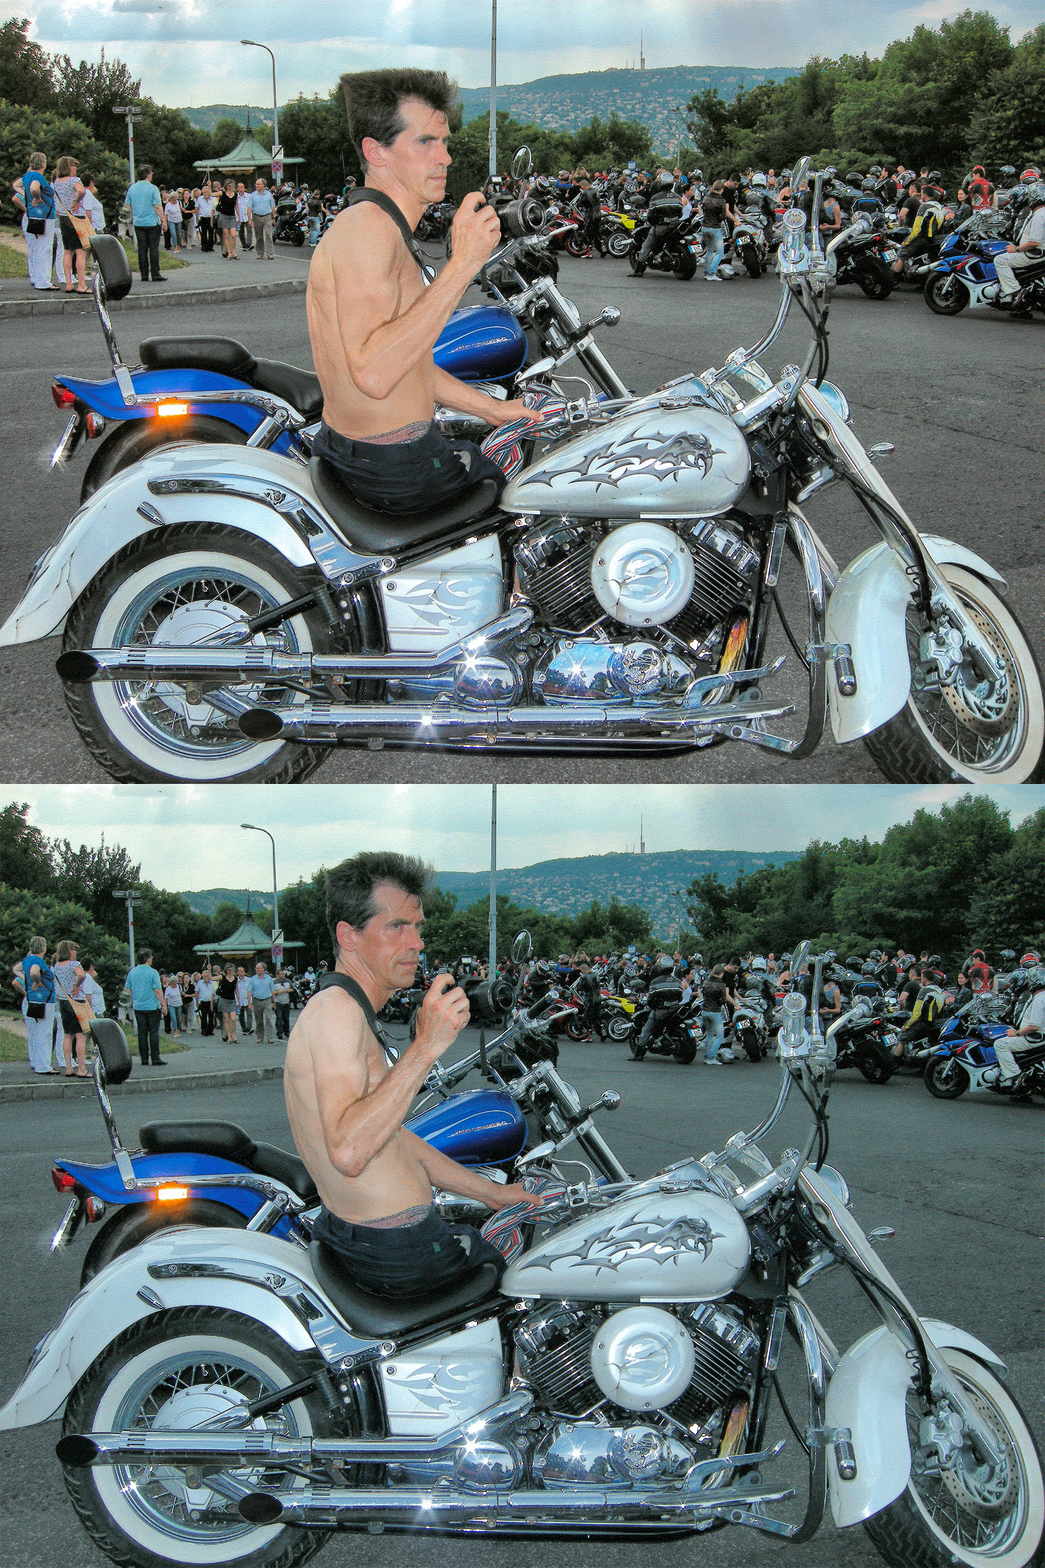
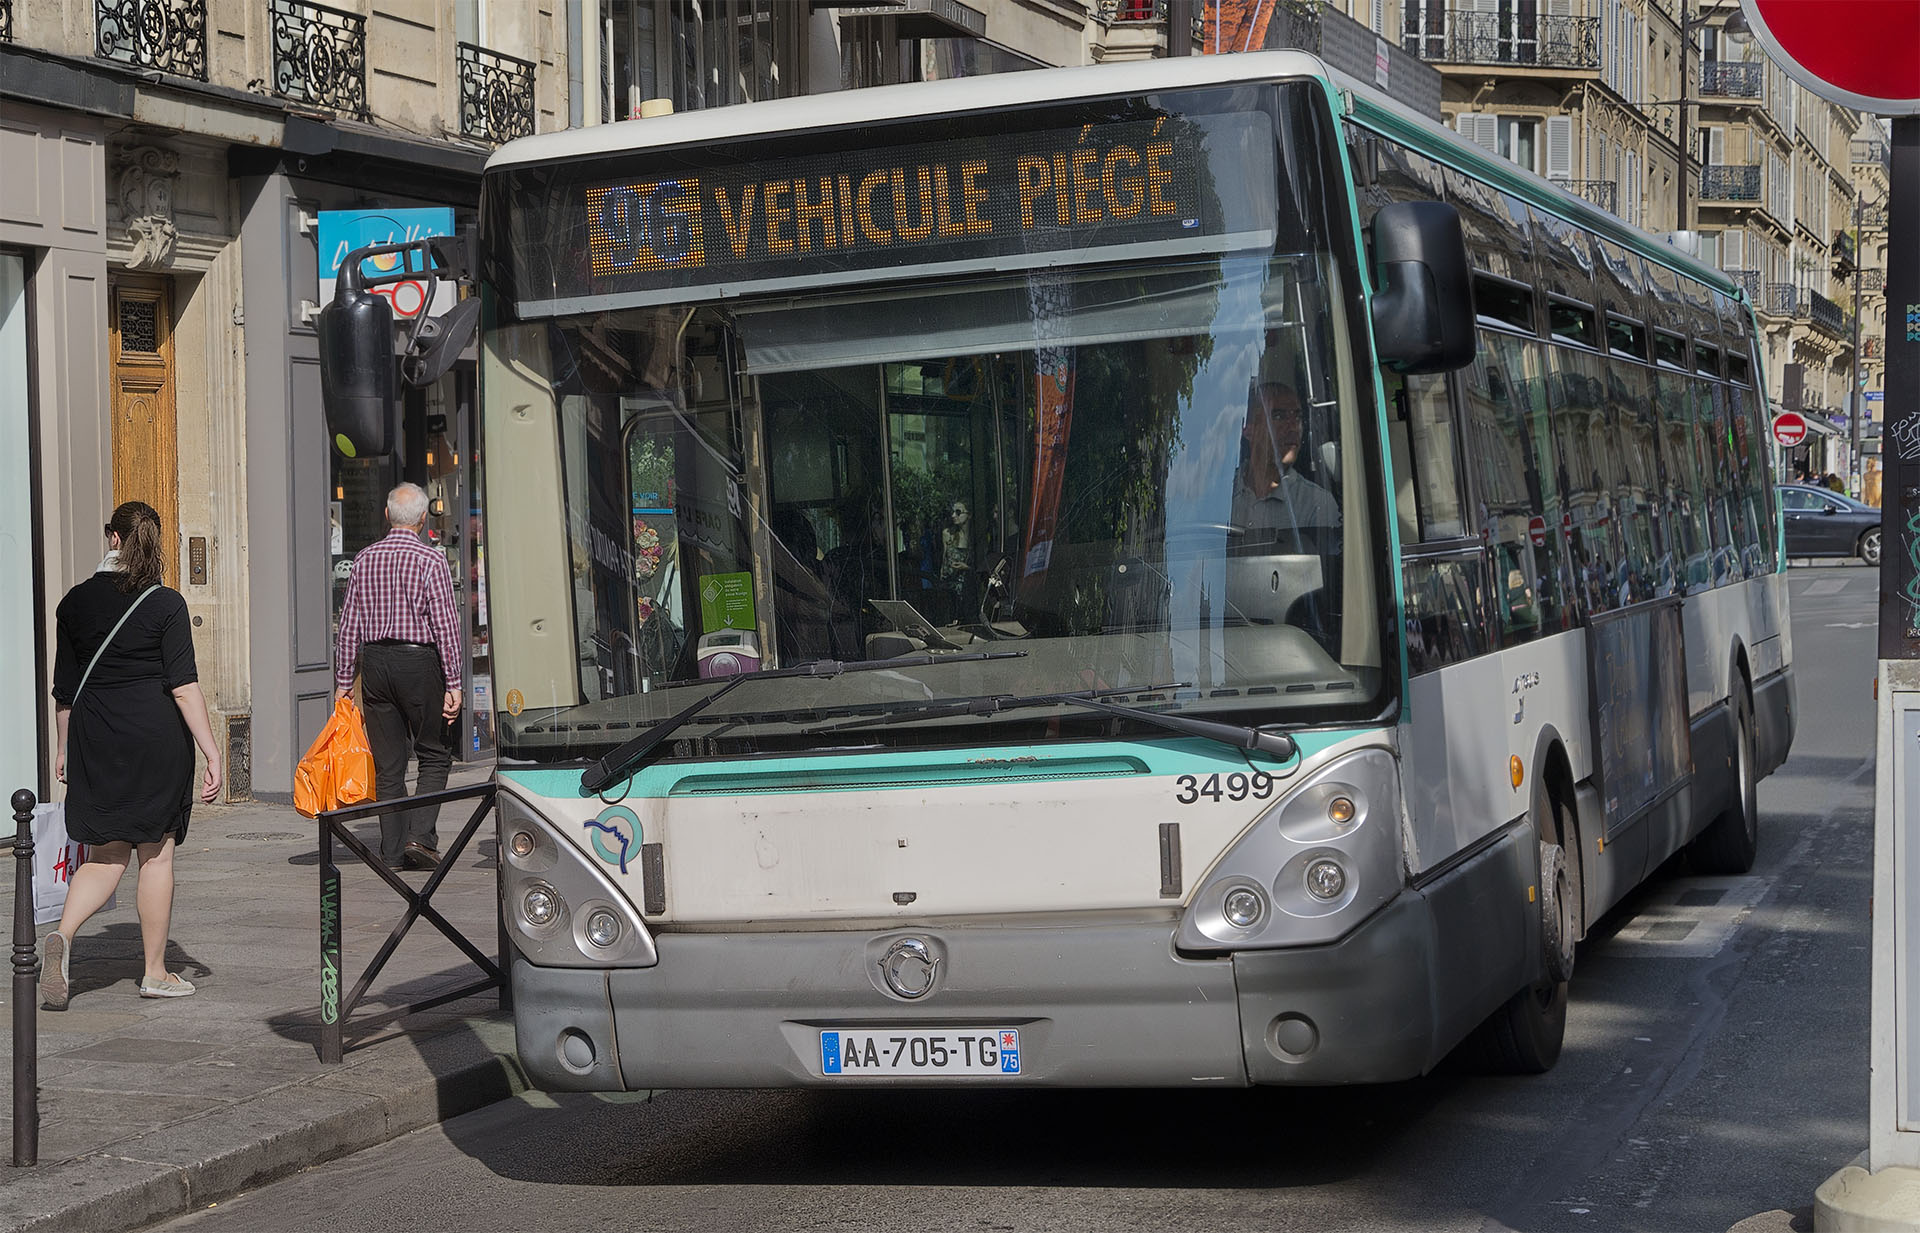
Digital trickery: remove bothersome elements from your pictures as you wish! Hover over this picture to see the truck disappear; take a look at a bigger version of this example.
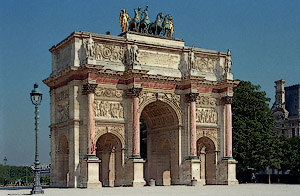
Image sharpness optimized for display on a web page. Hover over this picture to see the results of a reduction from a high-resolution scan, without boosting the sharpness.
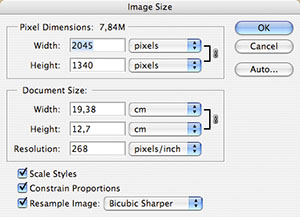
The “Image Size” dialogue box where you can set the print size and if necessary, the number of pixels in the image.
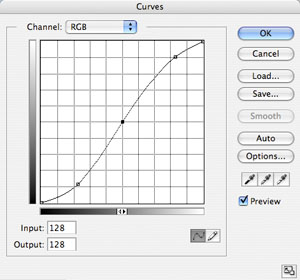
The “Curves” dialogue box is the best choice for working on the brightness, contrast and color balance in a photograph. I prefer this method by far as opposed to others, notably Levels. This screen shot shows a typical curve for increasing the contrast of a picture.
These Photoshop lessons, entirely tailored to your needs and what you would like to learn, can help photographers with these subjects:
- Portraits: How to minimize skin disturbances, shadows around the eyes, wrinkles, acne, freckles, the “five o’clock shadow”, without losing apparent sharpness. Bring out the best in your portraits while avoiding the “silly putty” look, or pictures that look too much like those on the covers of teen/glamour magazines.
- How to replace a background in Photoshop: Copy the image whose background needs to be replaced and paste it in to the picture which contains the background you want to use. Whenever you paste an image in Photoshop the pasted picture arrives on a layer, meaning it can be moved around as needed. The background will often need to be moved around also and to do so it must be converted in a layer by double-clicking on it in the Layers palette. The background and foreground images often need to be resized and/or distorted using the Free Transform command. Once the scaling and positioning has been done the areas you would like to erased in the pasted image can be removed using the Eraser tool, or deleted after making selections.
- Brightness, contrast and color balance: how to adjust these three at the same time, or separately, with the “Curves” dialogue box, with which one can modify colors in a “non linear” manner, which the “Levels” dialogue box does not allow.
- Nighttime photography: photographs taken at night or inside often have an overall red or yellow cast because of artificial light, such as tungsten bulbs. Learn to correct these color casts without making areas of the picture too blue or cyan.
- Perspective: Straighten out converging lines in pictures taken with the camera pointed up or down. Pictures of buildings generally have “keystone” distortion, unless the picture is taken with the focal plane parallel to the building façade. Before the arrival of digital photo retouching, the only solution was either to use a perspective-correcting lens, or to take pictures with a large format field camera.
- Selections: Just about always, you’ll want to modify brightness, contrast and color balance region by region. To do so, you need to make selections: with the polygonal Lasso tool, in “Quick Mask” mode, with the “Color Range” command, or with a combination of these three methods. The subject of selections is perhaps the most complex and the most difficult to understand so much so that sometimes it’s better to skip it and use the “History Brush”, to return the areas on which you click as they were when you opened the file.
- Digital trickery… This isn’t really my thing and I try to take my pictures such that I won’t need to work them over much in Photoshop. That said, from time to time I do find myself removing trees rising from behind people’s heads, towing away bothersome trucks, picking up litter on sidewalks, etc.
- Sharpness: How to increase the visual sharpness of your pictures without going too far. These days I see pictures (in photography magazines, even!) whose sharpness has been pushed too far. Usually this is noticeable because there are thin white lines along the edges between bright and dark areas.
- Image size: How to set the resolution for a given use: smartphone, computer web page, or print. Pictures shown on phones or web pages should be downsampled to make them load quickly. When making prints beyond 11x14 inches it’s important to check the resolution, if it’s much below 300 dpi the image should be “up-sampled” to avoid seeing pixels in an enlargement.
- Eliminate “noise” and reduce film grain: The the “Reduce Noise” filter should just about always be applied selectively so as not to lose detail because noise is “hidden” in the fine details in sharp regions of a photo while noise is more visible and displeasing in areas out of focus because of shallow depth of field. Thus I duplicate the entire picture on to a new layer, turn off that new layer, come back to the background layer, apply the filter, return the duplicate layer and use the Eraser tool in areas where I see noise. The Reduce Noise filter doesn’t work so well on film grain, in that case the Dust and Scratches filter may prove useful.
- Calibrate your screen and the rest of your digital photography process: It is essential to be able to trust the colors and contrast displayed on your computer so as to be able to make prints that resemble what you see on the screen. This isn’t just a question of calibrating the monitor; the settings on your camera or scanner should be looked over, as well as your printer if you make your own prints.
- Learn about file formats: In digital photography we have Tiff, Jpeg, Photoshop, Raw, Png and Gif. Tiff offers little or no options for compression, keeps all the quality of an image, Jpeg offers variable compromises between file size and image quality, the native Photoshop format should be used when working with layers, the Raw format is generated by digital cameras and is thus an import format, Png format is useful for preparing images for web pages with a non-rectangular border and a transparent background and the only reason for using the Gif format is for creating slideshows and animations. Learn how to use these formats, when and why.
- 16 bit mode, the Raw file format: Image files with this color depth have an extended range of brightness values as compared to 8 bit files, albeit “hidden behind” the eight bits that computer monitors display. The great advantage of 16 bits is that one can more easily recover details otherwise hidden in the highlights and shadows, above all in pictures with a lot of contrast. Photo labs do not accept 16 bit files and the Jpeg format only allows 8 bits. I take my pictures in the Raw file format and open them in 16 bit mode which provides more latitude while brightening and darkening. Once I’m finished working on the picture’s brightness and contrast, I switch to 8 bits and do all the rest of cleanup work before saving it in Jpeg format in order to put it on a web site, print it, send it by e-mail, archive it, etc.
- Prepare pictures for display on web pages: Oddly enough, it isn’t enough to reduce images with the “Image Size” dialogue box. It’s better to do the reductions (twice if working from high resolution images, bigger than 2,000 x 3,000 pixels), while boosting the sharpness with each reduction. Also, I’ve occasionally found it necessary to brighten the image before making the final reduction as so many original pixels are being glommed together in order to interpolate the web version’s pixels.
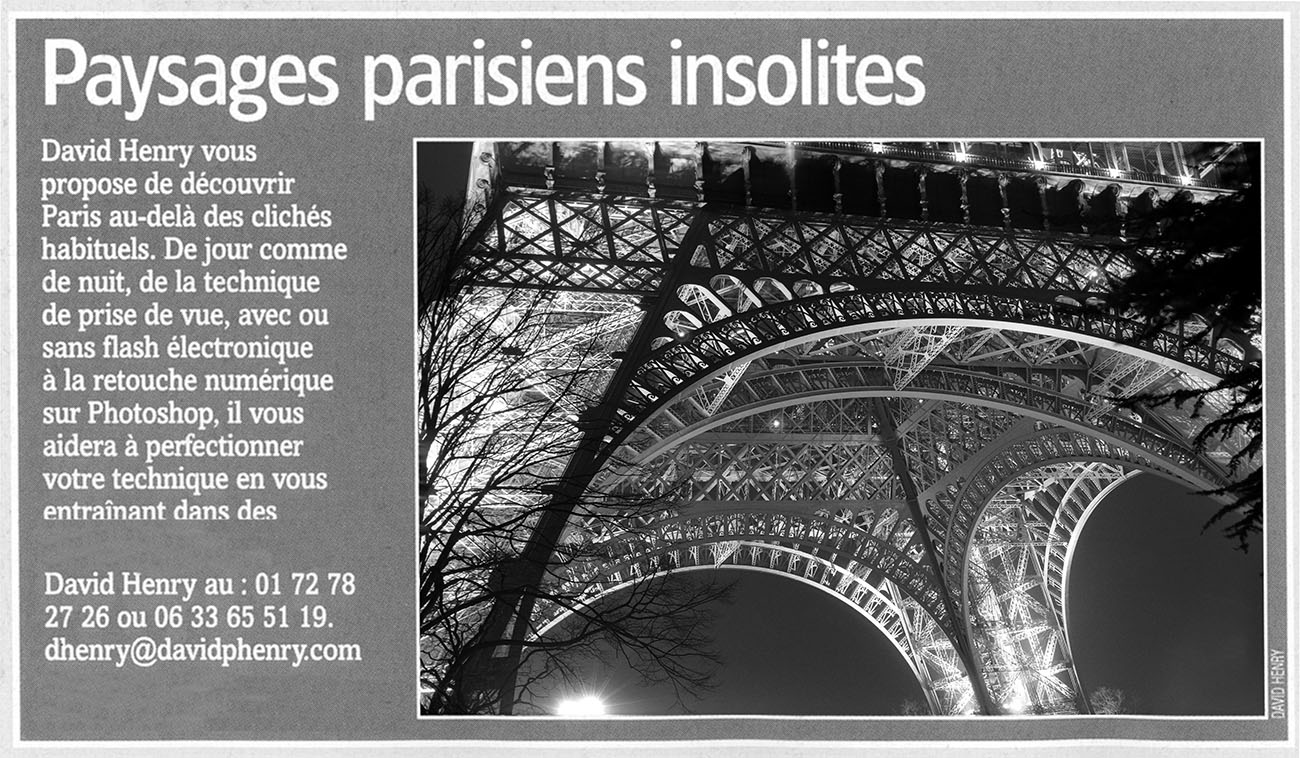
As seen in «Réponses Photo»
Above: an announcement for photography lessons by David Henry printed on page 154, in the October 2005 edition of one of the leading photography magazines in France.
Questions and answers about Photoshop workshops:
Who is David Henry?
I’ve been taking pictures since the age of thirteen. Most of my work consists of tourism and travel photography, for advertising agencies, graphic designers, architects, books, magazines and other kinds of publications. I first started digitally manipulating photographs at the beginning of the 1990s. A few years later I was preparing pictures in layouts for high-resolution offset printing. The great leap forward occurred in February 2001, when I bought a film scanner and a computer up to the task, worthy of making prints of truly photographic quality, at very large sizes.
Why retouch pictures, why Photoshop?
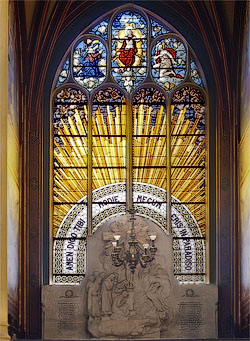
A typical scene with lots of contrast: It’s frustrating to not be able to expose for the foreground and the background at the same time. In this example, the easiest way is to take one picture exposed for the stained glass window and another exposed for the interior of the church and to combine the best of the two images. Along the way, I corrected the perspective in this picture also.
Quite simply because no one makes proof prints at 16x20 inches: if I’m going to spend dozens of dollars on an enlargement I want it to be my print, not a machine-made print. Of course one can have pictures taken with a digital camera printed without doing the least bit of retouching and if the pictures have been exposed well enough, many of the prints will come out fine. In the history of photography, truly the best prints are ones made by hand by someone with an enlarger; seventy years ago there was no such thing as “custom printing”, because automatic printing machines had not been invented and every print was made by hand in a darkroom.
Doesn’t the term “retouching”, imply trickery or cheating?
For twenty years I developed my negatives and made black and white prints in the darkroom with my enlarger. When doing so, I systematically made areas lighter or darker, activities known as burning and dodging. When I started using a scanner and Photoshop to make my prints, I retained these same habits, except that now I can do all this in color, something too difficult, slow and expensive to do in a darkroom. I have retouched all the pictures you see on this web site, some more than others, but always in the spirit of making “custom, hand-made prints”, as opposed to machine-made prints. I’ve found that any digital image benefits from a boost in sharpness, adjustments of color balance and above all, pulling out details in the highlights and shadows. Doctoring pictures isn’t my thing and I don’t often engage in what could properly be called trickery, beyond picking up litter or removing trees rising up behind people’s heads. That said, I know perfectly well how to completely doctor photographs, there are a few examples at the bottom of this page.
What kind of equipment is necessary?
Just about any computer made in the last ten years can run Photoshop, as long as it has enough RAM (two gigabytes is a comfortable minimum) and has at least a dozen gigabytes of free space on the hard drive. If you do not have Photoshop installed, Adobe offers a trial version which lasts 30 days. If you will be using Photoshop more than a little bit, I strongly recommend a graphic tablet, like those made by Wacom.
Why these Photoshop lessons?
It must be said that Photoshop is truly a flexible program, used for dozens of kinds of work on images, having to do with science, graphic arts, cartoons, astronomy, video, etc, as well as… photography. If you take traditional classes on Photoshop, you’re likely to learn plenty of things of no interest to photographers: typography, vectorial drawing, drop shadows, “artistic” filters. My approach is to teach Photoshop for photographers, the most important parts of the program for bringing out the best in your pictures, as you would if working with an enlarger in a darkroom.
What previous skills and knowledge are required for participants?
I work with people of all kinds of skill levels, from absolute beginners to people who know Photoshop better than I do in certain ways. Participants need not know anything about digital photography, the only requirement is a will to learn and the motivation to put in to practice the ideas and concepts I teach.
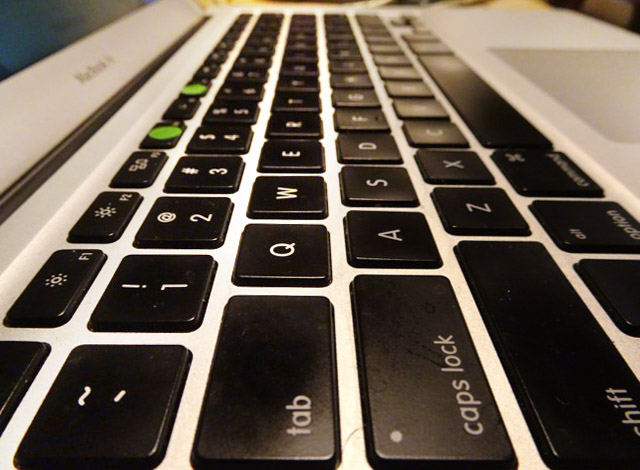
The keyboard of my 13-inch MacBook Air equipped with Photoshop CC and Adobe’s other leading programs: Lightroom, InDesign, Illustrator and Dreamweaver.
Where are these Photoshop classes taught?
I feel it’s best to teach and learn on your own equipment. That way, I can look over your digital photography process from beginning to end; from image acquisition (your digital camera or scanner), your computer and the calibration of your monitor, on up to your printer, or your habits of working with digital photo labs. Otherwise, I can teach anywhere with my MacBook Air and the latest versions of Photoshop and Lightroom CC.
How long do these sessions last?
I’m in the habit of starting at 11:00 am and continuing until 7:00 pm, though we can start whenever you wish: lessons can be arranged any time: the morning, at night, during the week, the afternoon, on weekends.
When are the Photoshop lessons held?
Workshop sessions are in no way pre-organized, they are scheduled according to your availability. It is best to reserve sessions a few days in advance, to make sure I will be in Paris and not previously engaged.
How many students are there per class?
There is just one participant: you! That is, unless you would like to participate with friends, in which case the rates are the same. These workshops are entirely customized, one-on-one sessions. You may think of these sessions as an opportunity to learn techniques I have gathered over the years and to “pick my brains” and ask specific questions that most people wouldn’t have the answer to.
What about Adobe’s other programs?
I know InDesign as well as Photoshop, it’s a fantastic page layout program and entirely essential when you are working on projects that are more than a few pages long. I know Lightroom equally well, it has the same “engine” and technology as Photoshop though the interface is very different. One can spend dozens of minutes making pictures look great in Photoshop though spending this much time is out of the question when you have dozens or hundreds of photos to prepare and send out. Thus Lightroom is much more adapted to digital photography, while Photoshop after all dates back to before the advent of digital photography, when image files were created with scanners, not cameras. For “deep digital drawing” and graphic design Illustrator is essential and I know that program almost as well as Photoshop.
 Google Guide in Paris, level 9